Self Portrait Drawing for Kids: Easy Steps for Ages 2-8
Self portrait drawing for kids in 8 easy steps, from mirror game to story. Age-by-age expectations for scribblers and detail lovers, ages 2 to 8.
 Pixley Team
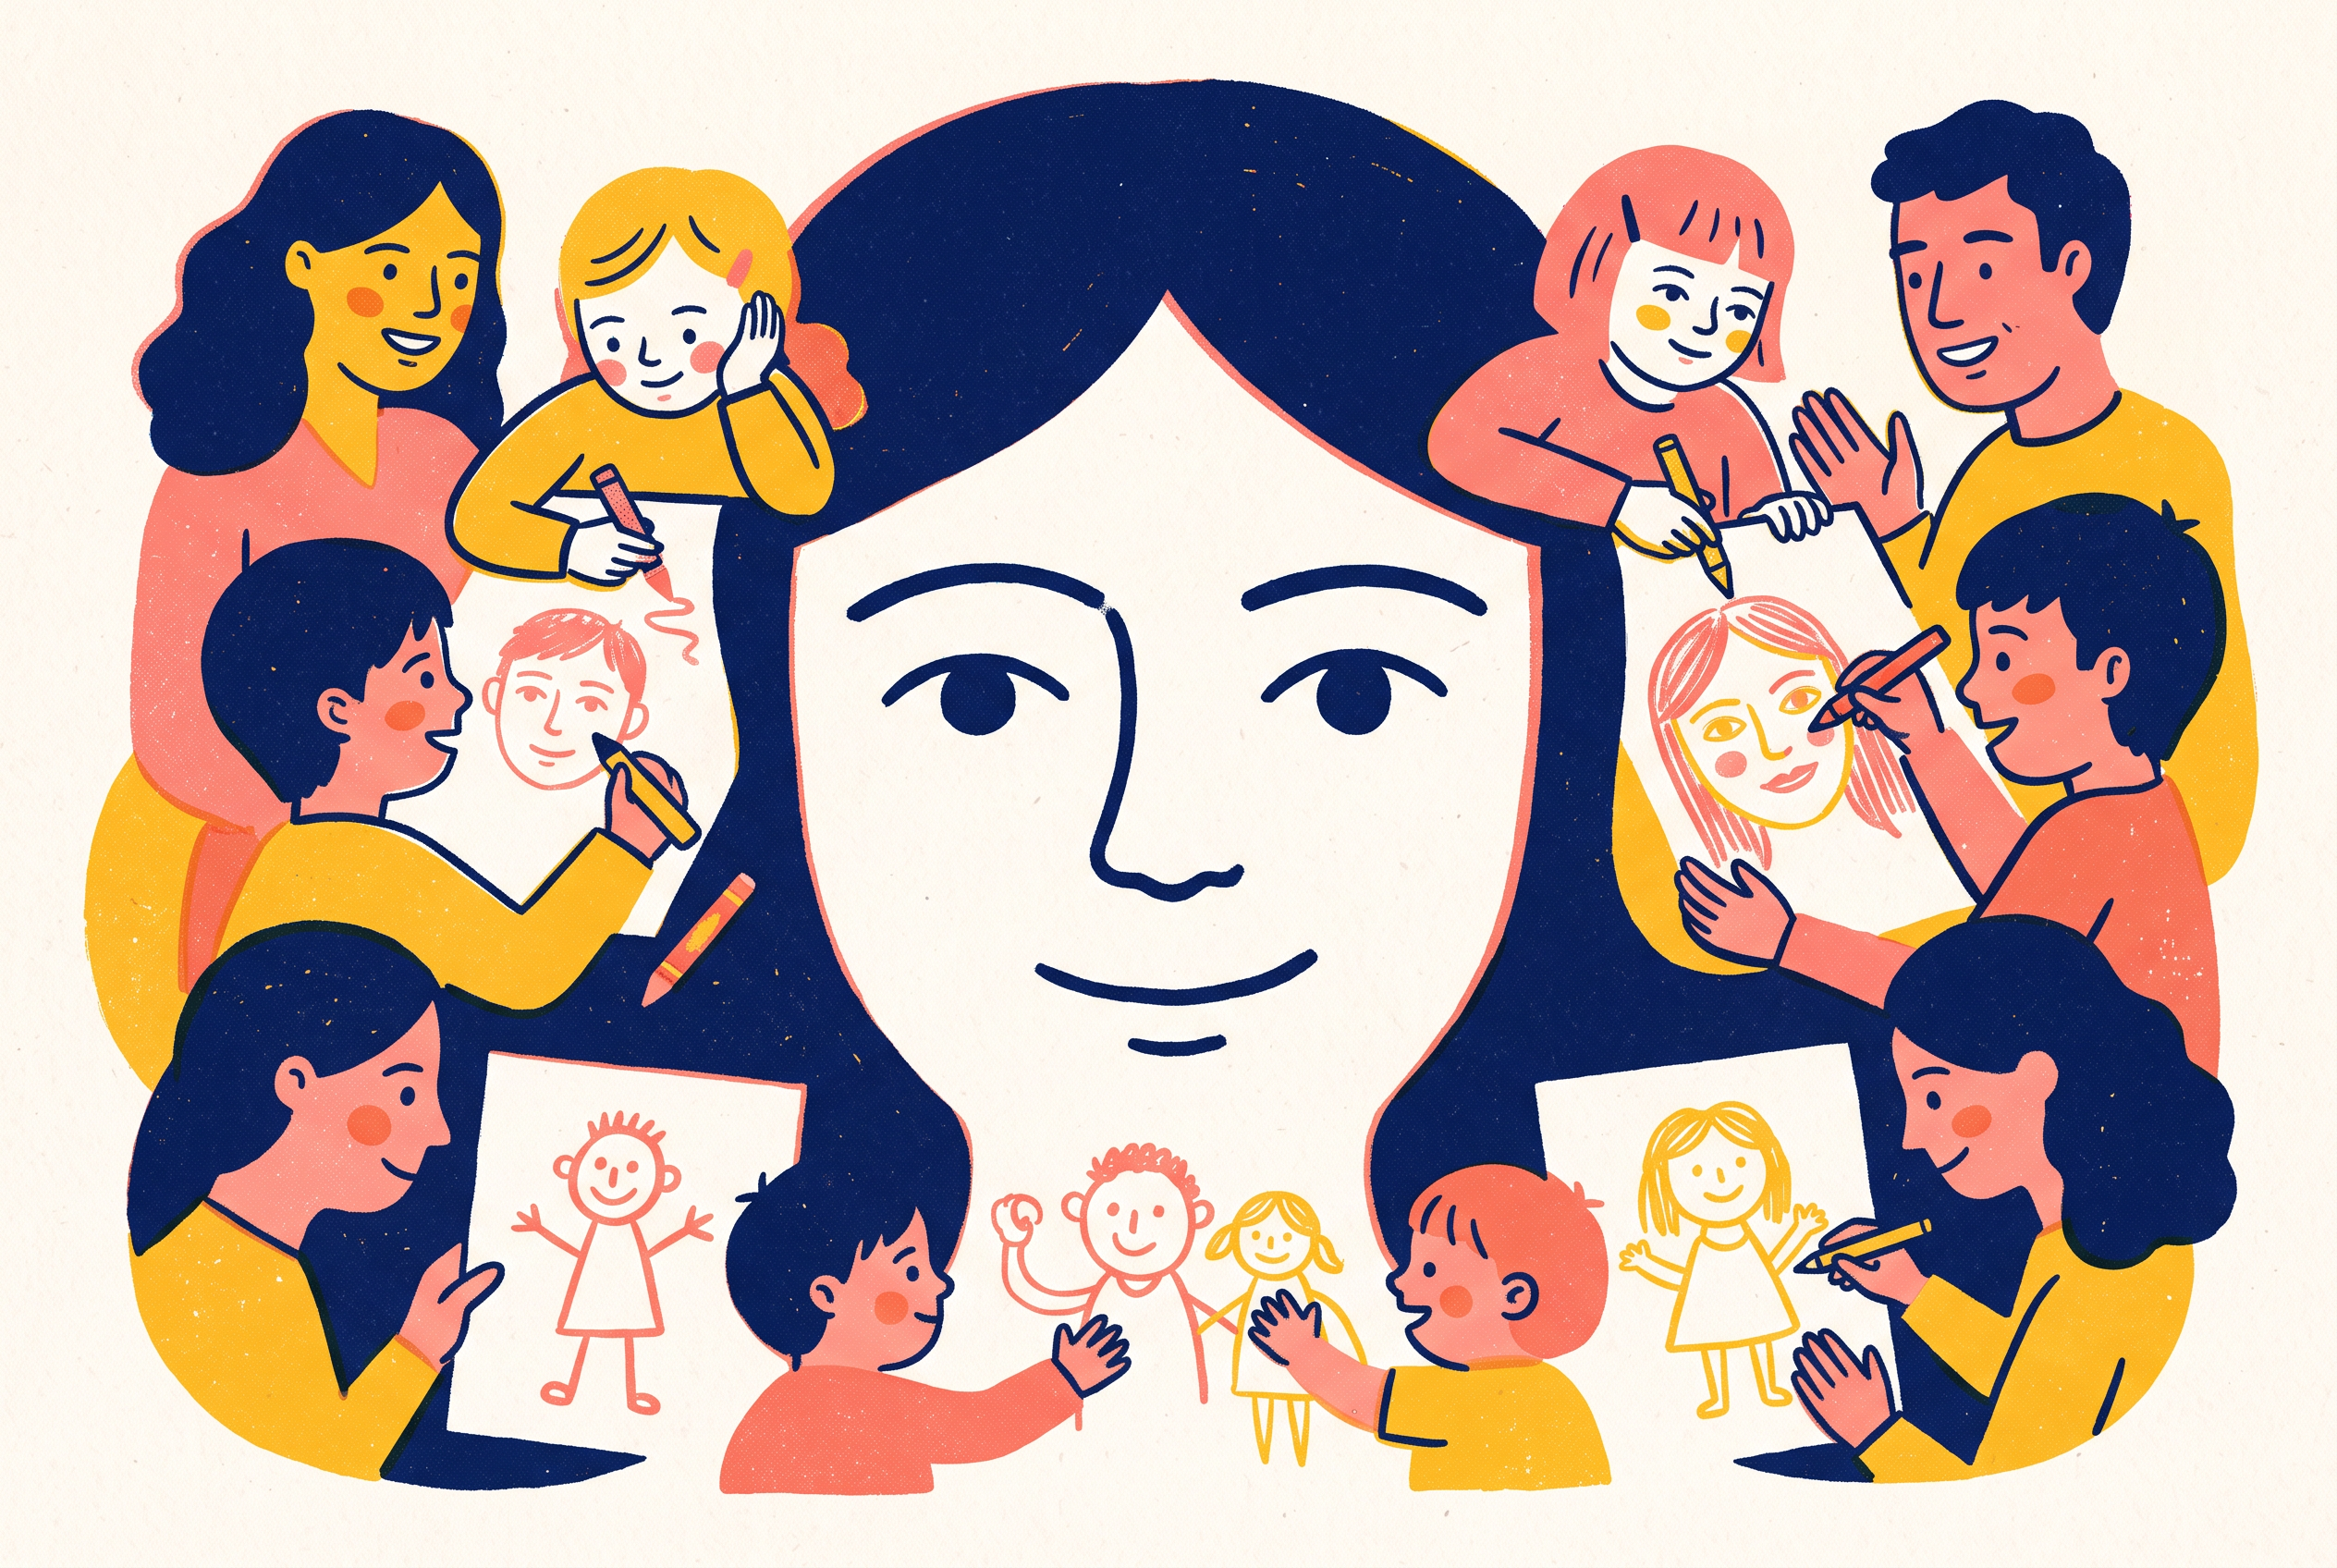
A four-year-old holds up a paper covered in a giant orange circle with two dots and a smile, and announces, "That's me!" Look closely. That drawing is not a failed attempt at realism. It is the first character your child ever designed, and they know exactly who it is.
This guide turns that moment into a short, repeatable activity. You set up a mirror, play a one-minute looking game, build the head shape, add features, layer in the details that make the drawing unmistakably your child, and finish by asking them to tell the story of who they drew. Along the way you'll see what to expect at ages 2-3, 4-5, and 6-8, so a scribbler and a detail-lover can both walk away proud.
You need very little: paper, a few crayons or markers, and a mirror. Plan on 15 to 25 minutes, or split it across two sittings. Self portrait drawing for kids works best when you treat it as play, not a test of likeness.
Step 1: Set up a mirror, paper, and a few simple tools
Start with the mirror. It's the one tool that turns a drawing from "a person" into "me." A bathroom mirror works. So does a hand mirror propped against a pile of books on the table. You want a spot where your child can see their face and reach their paper without standing up.
Pick paper that is bigger than you think. A plain sheet of 8.5 by 11 inches is fine, but a larger sheet (or a paper plate for the youngest kids) gives small hands room to make big shapes. Big shapes mean fewer frustrated erasers.
Keep the tool list short. Offer 4 to 6 colors, not the whole bin. Too many choices slow kids down and invite the "I can't pick" stall. Chunky crayons suit ages 2-3. Washable markers or colored pencils suit ages 4-8. Skip the pencil eraser for now. Mistakes become part of the portrait.
One rule for you, the grown-up: sit down and draw your own portrait next to them. Kids copy attitude faster than technique. If you laugh at your lopsided nose, they relax about theirs.
Then set the mood in one sentence: "We are going to draw the most important character in the whole world. You." A character gets to be silly, bold, and a little weird. A "portrait" sounds like homework.
Step 2: Look closely first: a one-minute mirror game
Don't hand over the crayon yet. Spend one minute just looking. Kids this age draw what they know, not what they see, and a short game closes the gap.
Try a simple version of "I spy" at the mirror. Say, "I spy something round and dark in the middle of your eye." Let them find the pupil. Then trade: they spy something on your face, you spy something on theirs. Aim for four or five discoveries: how many eyebrows, where the freckles sit, whether the ears stick out, what color the hair really is.
Add one silly move. Ask them to make a surprised face, then a grumpy face, then a sleepy face, and notice what the eyebrows and mouth do. This pays off later. A portrait with a feeling in it reads as a character, not a diagram.
Touch is allowed. Let a preschooler trace the shape of their own face in the air with a finger, from the top of the head down around the chin. It's a free warm-up for the head shape in Step 3.
Keep it to about a minute. Stretch it to five and you lose them. Accuracy isn't the point. What matters is that your child has just noticed three real things about their own face, and those three things make the drawing theirs.
Step 3: Start with a big head shape
Begin with the biggest, easiest shape: the head. Say, "Let's draw the shape of your face. Is yours more like a circle, an egg, or a rounded square?" Let them decide by looking in the mirror. There's no wrong answer, and kids love being asked.
Tell them to draw it big. A head that fills most of the page leaves room for features, and it matches how young children naturally draw. Developmental researchers have long described the "tadpole figure" stage, where kids around ages 3 to 5 draw a head with limbs attached directly to it. If your child skips the body entirely, that's normal, not a gap to fix. You can read more in our guide to the stages of drawing development in children.
Here is a quick sequence that works for most kids:
Draw the head shape in a skin-tone color, or any color they choose. A purple self portrait is allowed.
Add a neck only if they want one.
Optionally add shoulders as a curved line below the head, for kids 5 and up.
Resist the urge to fix the shape. If you redraw it "properly," you teach your child that their version was wrong. If they ask for help, offer a verbal nudge, like "Where does your chin end?", instead of grabbing the marker. The wobbly oval on the page is the foundation of the character, and it should stay theirs.
Step 4: Add eyes, nose, mouth, ears, and hair
Now the face. Go one feature at a time and keep returning to the mirror. Ask a question before each one so your child looks first and draws second.
Eyes. "How many eyes do you see? What shape are they?" Eyes go about halfway down the head, not near the top. Most kids place them too high at first. You can mention it gently by pointing to the mirror: "See how your eyes sit in the middle of your face?" Then let them decide.
Nose. A dot, a little L, a triangle, or two nostril dots all count. Don't correct it.
Mouth. This is where the feeling lives. Ask, "Is your mouth smiling, silly, or surprised right now?" Use the faces from the mirror game. A big curved line says happy. A wobbly line says nervous. Your child is already working with emotion, which pairs nicely with our feelings drawing activity for kids.
Ears. Many kids forget them. Prompt with, "Can you find the ears on both sides?" Two half-circles on the sides of the head is the classic move.
Hair. Hair is where personality explodes. Short spikes, long loops, curls, braids, a ponytail on top. Ask them to look at the color and the direction it grows. Give hair extra time, because it's often the feature kids care about most.
When the five features are on the page, stop and admire it. Say what you see, specifically: "You gave yourself big round eyes and a huge smile." Specific praise beats "great job."
Step 5: Add the details that make it unmistakably them
A face with all five features is a face. A face with freckles, a gap-toothed grin, and a favorite dinosaur shirt is a specific person. This step is where self portrait drawing for kids becomes character design.
Ask the question that unlocks it: "What is something only you have?" Then feed the answer to the page. Prompts that work:
Freckles, dimples, a missing front tooth, a scar from the playground
Glasses, a hair clip, a hat, earrings
A favorite shirt with a picture on it
Something they love holding: a stuffed rabbit, a ball, a toy truck
A background that says where they like to be: a backyard, a bedroom, a soccer field
If your child draws a body here, let it be whatever it is. Stick arms, floating hands, three fingers, a triangle dress. Details like clothing and objects matter more than anatomy accuracy. A kid who draws a lightning-bolt shirt is telling you what they love.
Color gets its moment now. Invite them to fill in the hair, eyes, and clothes. Resist the idea that colors must match reality. A kid who draws green hair isn't confused. They're playing. If you're curious what choices like these can signal, our post on what colors in kids drawings mean is a light, useful read.
Stop before it gets overworked. When your child says "done," it's done. A finished portrait that's a little bare beats a muddy one they hate.
Step 6: Adjust the steps for ages 2-3, 4-5, and 6-8
One activity, three different finish lines. Match your expectations to the age and everyone wins.
Ages 2-3: scribbles with a name. A two-year-old will probably not draw a recognizable face. They may make circular scribbles and tell you it's "me." That counts as a self portrait. Cut the steps down: do the mirror game (point to eyes, nose, mouth), then hand over a chunky crayon and a big sheet. Let them scribble, and ask, "Where are your eyes in the picture?" If they stick a dot or two on the scribble, celebrate. Write their name and the date in the corner. For more ideas at this age, see drawing activities for toddlers.
Ages 4-5: the classic big-head person. This is the sweet spot for the full sequence. Expect a large head, two eyes, a mouth, maybe a body made of lines. Do all steps, but keep the details to two or three. They'll want to tell you everything about the picture, so save energy for Step 7.
Ages 6-8: detail and proportion. Older kids notice when a drawing doesn't "look like" them, and that can trigger frustration. Give them more mirror time, let them use pencil first and then color, and add shoulders, a neck, and a body. Encourage them to notice real proportions: eyes halfway down, ears lining up between eyebrows and nose. If they say they can't do it, our guide to when your child says "I can't draw" has eight ways to rebuild their confidence.
At every age the rule is the same: praise the choices, not the likeness.
Step 7: Ask your child to tell the story of their portrait
The drawing is half the activity. The story is the other half, and a lot of the learning hides there. Once your child finishes, hold the paper and ask, "Tell me about this person."
Then follow with open questions that invite a narrative, not a yes or no:
"What is this character's name?" (It might not be their real name. Let it be.)
"What do they love to do?"
"What are they feeling right now?"
"Where are they going next?"
"Who is their best friend?"
Write down what they say, word for word, on the back or bottom of the page. Kids light up when they see their own words in writing, and you end up with a keepsake that captures how they talked at this exact age. A five-year-old who says "This is me and I can run super fast and I'm going to the moon" has just handed you a plot.
Stay curious and skip the corrections. If they say the portrait has four eyes because "I see everything," write it down. That's imagination doing its job. For a longer playbook on this kind of conversation, our post on draw and tell stories for preschoolers has ten easy prompts.
This is also the moment a self portrait stops being a one-off page and becomes a character with a personality. And characters, unlike fridge art, can keep going.
Step 8: Keep the portrait going: make it a character
Most self portraits end up on the fridge for a week and then in a drawer. You can give yours a second life, and the story you just collected is your raw material.
Start low-tech. Tape the portrait to a wall and ask what adventure this version of your child would go on tomorrow. Draw a second page together: the character at the beach, the character with a pet, the character feeling nervous on the first day of school. Two or three pages and you have the start of a comic. Our comic strip ideas for kids post has 30 prompts you can borrow. Or follow the steps in how to draw a cartoon character with kids to turn the portrait into a repeatable character.
If you want the character to move, this is where Pixley fits. Pixley turns kids' drawings and ideas into personalized animated cartoons and bedtime storybooks for ages 2-8, and a self portrait is a natural starting character because your child already knows who it is and what they love. Parents can describe a lesson they want taught, such as handling big feelings or taking turns, and Pixley creates a cartoon episode around it. Every generation passes child-safety filtering before a kid sees it, and it's ad-free. The magic moment, as co-founder Pranit puts it, is a kid seeing their own scribbled dragon blink back at them in a real cartoon.
Whether you stay with paper or go digital, save the original. Date it and keep a self portrait from every birthday. In five years you'll have a flip-book of how your child saw themselves.
Conclusion
A self portrait is the easiest way to get a child to invent a character, because the subject is someone they already know better than anyone. Do the eight steps once, save the page, and ask the story question every time they finish a new one. The pattern will outlast the paper.
When your child's portrait has a name, a favorite food, and a plan for tomorrow, you have everything you need to see it move. Start a free trial on iOS and give your child's self portrait its first cartoon adventure, built around a lesson you choose.
Frequently Asked Questions
What age can kids start drawing self portraits?
Kids can start as early as 2 or 3, though early portraits are scribbles the child calls "me." Around ages 4-5 most children draw a big head with simple features. By 6-8 they add necks, bodies, and clothing. Match your expectations to the age and praise their choices instead of the likeness.
How do you teach a child to draw a self portrait step by step?
Set up a mirror, play a quick looking game, then draw a big head shape. Add eyes, nose, mouth, ears, and hair one at a time, checking the mirror before each. Finish with personal details like freckles or a favorite shirt, then ask your child to tell the story of who they drew.
What if my toddler just scribbles when asked to draw themselves?
That counts as a self portrait. Toddlers around 2-3 often make circular scribbles and name them "me." Skip the full step sequence, point out facial features in the mirror, and ask where the eyes are on the page. Write their name and the date in the corner as a keepsake.
How can I turn my child's self portrait into a cartoon?
Start by collecting the story your child tells about the portrait: name, favorite things, feelings. You can then build a comic by hand, or use Pixley, which turns kids' drawings and ideas into personalized animated cartoons and storybooks for ages 2-8, with child-safety filtering on every generation.
What do I say when my child says their self portrait looks bad?
Point to something specific they chose, like "I love the curly hair you gave yourself." Remind them this is a character, not a photo, so it does not have to look real. For ages 6-8 who want more accuracy, offer extra mirror time and pencil sketching before coloring.