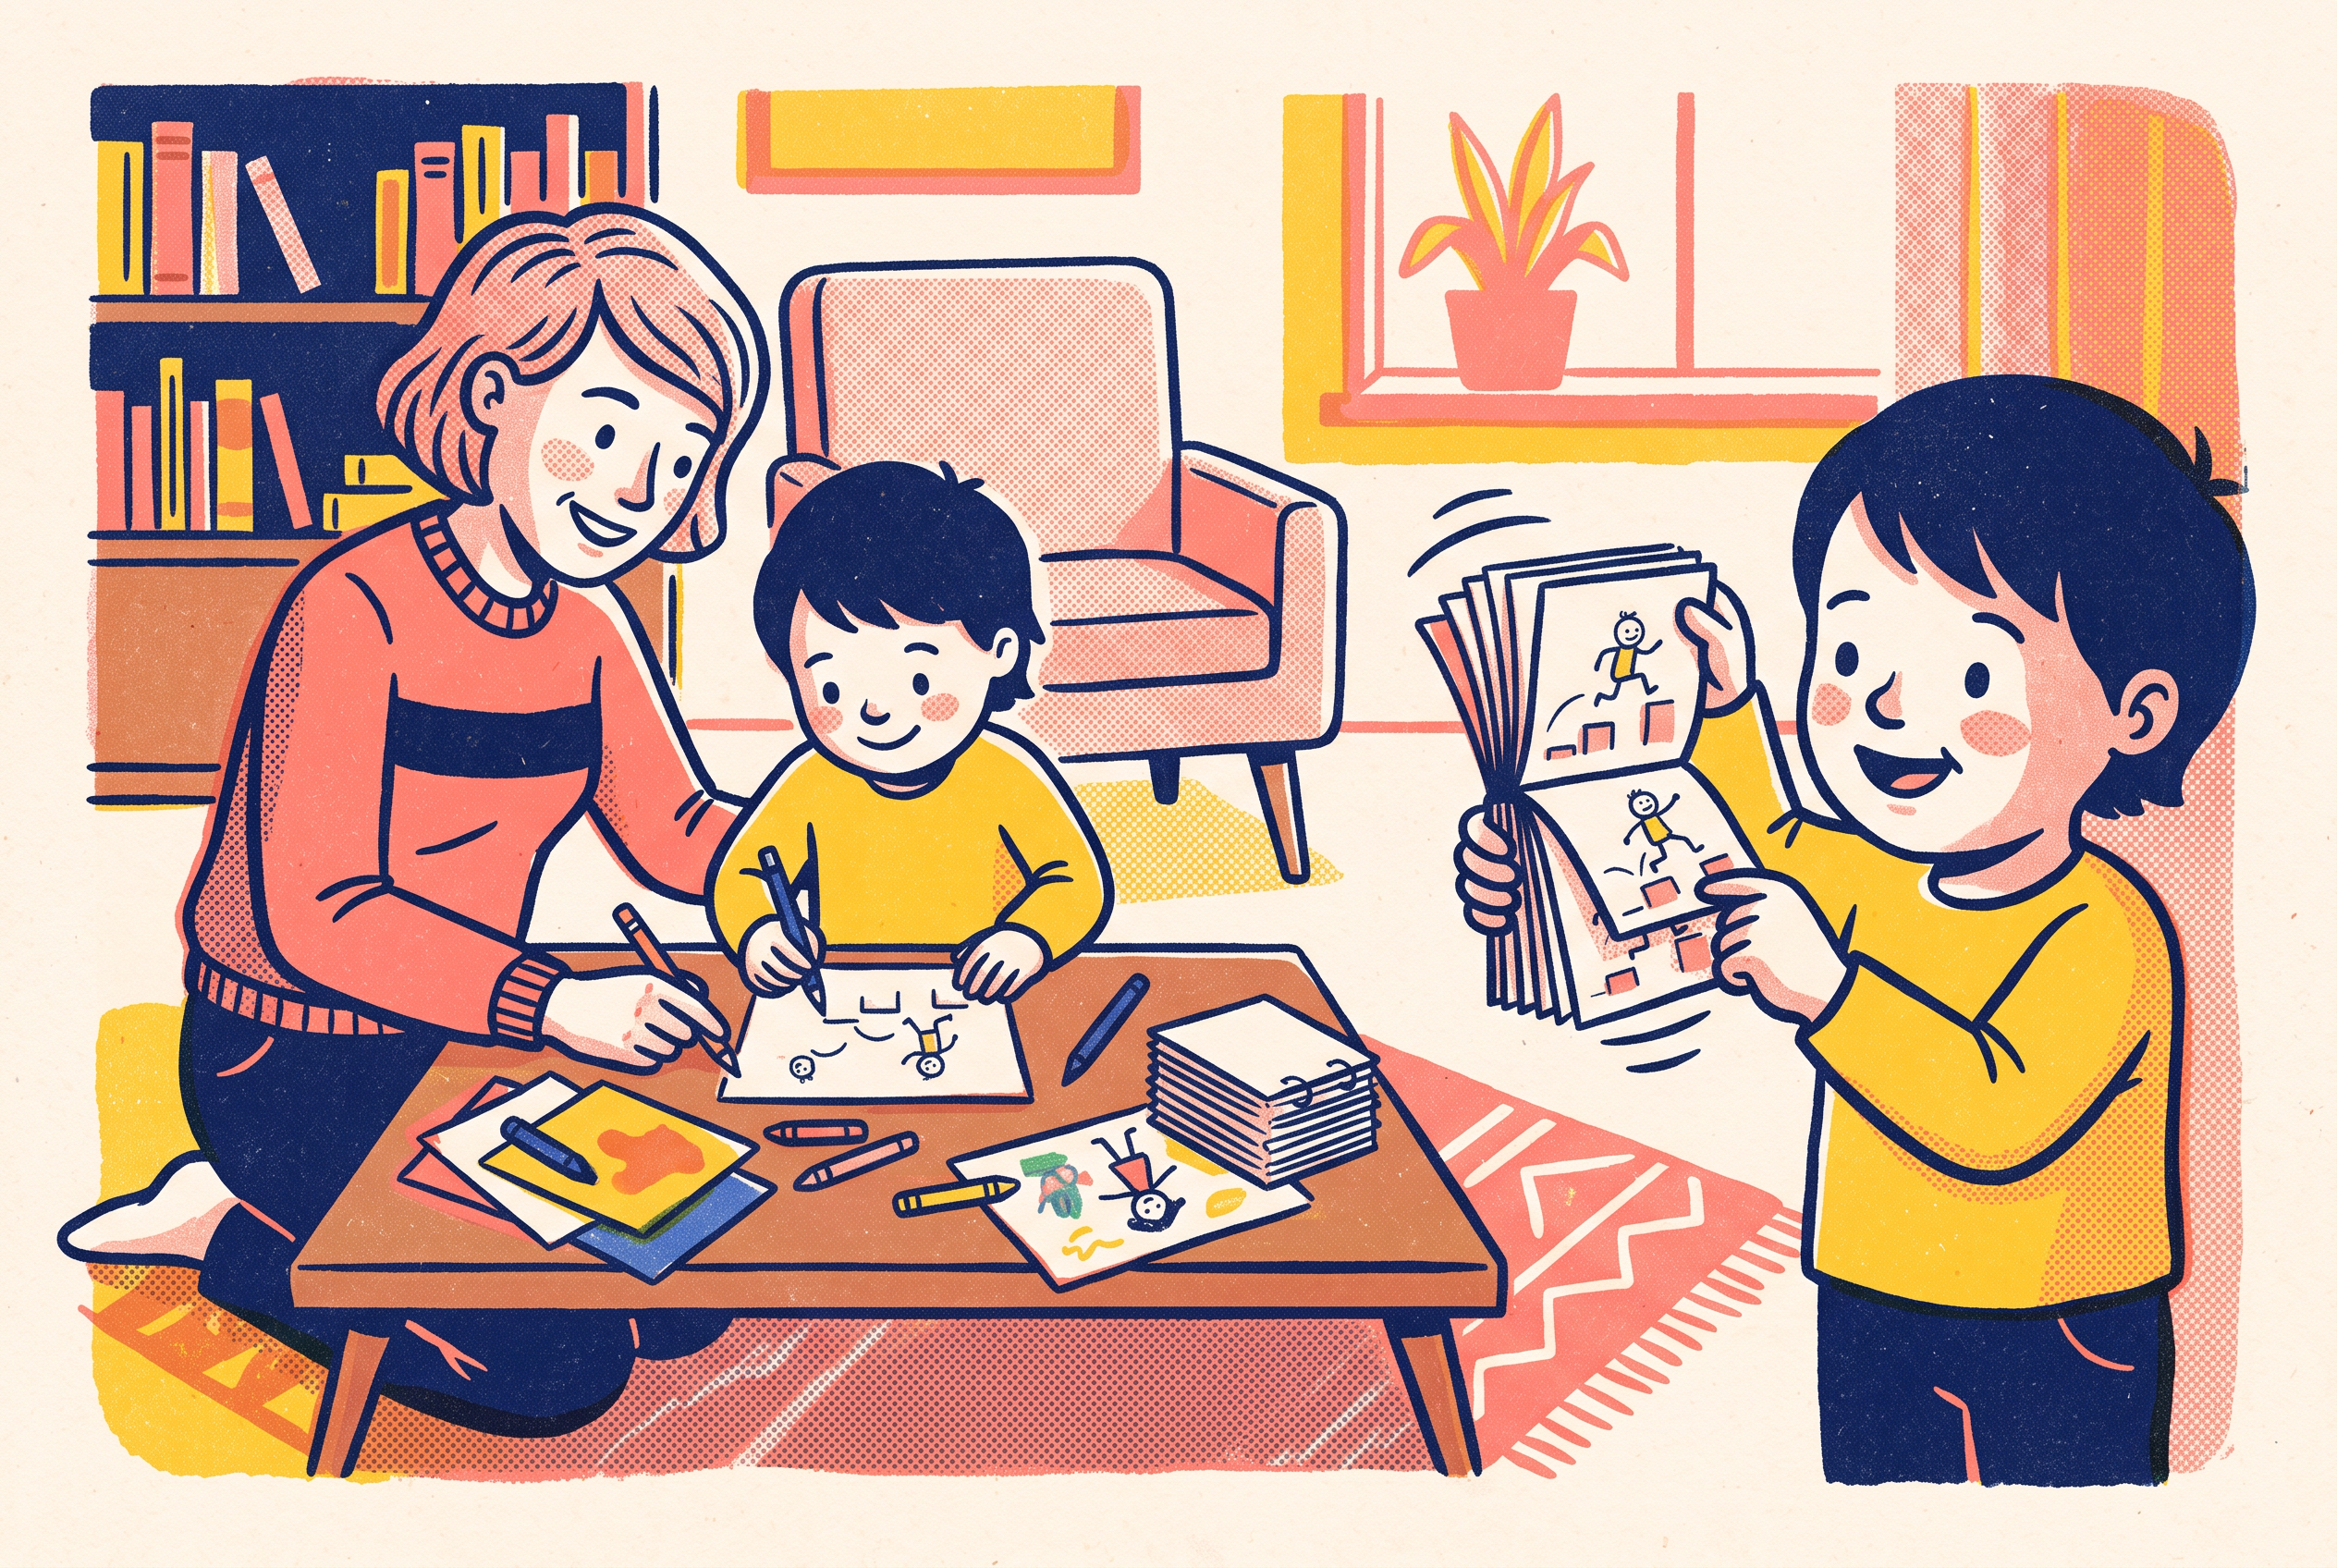
How to Make a Flip Book for Kids: Animate Drawings
Learn how to make a flip book for kids using their own original drawings. Follow this step by step guide to turn simple paper doodles into moving cartoons.
 Pixley Team
A pile of thirty dinosaur drawings sits on your kitchen table right now. Most tutorials for animating paper tell you to draw a bouncing red ball across twenty note cards. Your child does not want a sterile geometric ball. They want their three-eyed cat, green robot, or crown-wearing bunny to jump off the page.
Learning how to make a flip book for kids is the most direct, low-tech way to teach persistence of vision. When sequential images flash by in rapid succession, the brain perceives those static pictures as apparent motion. Build the book from your child's existing doodles and ordinary craft time becomes a memorable studio session.
You only need paper, a drawing tool, and ten minutes. No lightbox tablets, tracing stations, or animation peg bars. Here is how to take your child's favorite character and bring it to life on paper, step by step.
Step 1: Gather supplies (sticky notes or index cards, pencil, markers, binder clip)
Skip heavy sketchbook paper. Watercolor paper and thick cardstock are too stiff for small hands to flip quickly, and regular printer paper lacks the snap to release pages one at a time. The best material for a beginner flip book is a standard 3x3 inch pad of Post-it notes. Sticky notes come with adhesive binding along the top edge, and the 20-pound paper stock is translucent enough to trace against a bright window.
If you prefer loose cards, buy a pack of 3x5 inch index cards cut in half, or blank flashcards held together with a 1-inch metal binder clip. Thin index cards (around 65 lb cover weight) give the right snap when thumbed from back to front.
For drawing tools, stick to a medium-soft graphite pencil (number 2 or HB) with a clean eraser. Pencil lets you reposition lines before committing. Once the lines move cleanly in test flips, ink the outlines with fine-tip markers or gel pens. Avoid alcohol-based markers like permanent Sharpies, which bleed through three layers of thin paper and ruin the frames beneath. Keep a sturdy binder clip handy to lock loose cards in place so the edges stay aligned while your child flips.
Step 2: Let your child pick the star: their own drawn character
Most kids already have a signature creature. Maybe it is a dog with six legs, a squiggly monster with mismatched horns, or a stick figure in an enormous chef hat. Look through the artwork on your refrigerator or let them sketch a fresh star right now. If your child feels stuck on what to invent, try some drawing games for kids to spark a quick silhouette.
The golden rule of beginner paper animation is simplicity. A character with twelve accessories, detailed armor, and gradient shading will wear your child out by frame three. Pick a character whose silhouette fits in three to five basic shapes. A round head, an oval body, two stick arms, and two dot eyes work best.
Draw a clean reference model sheet of that figure on a spare index card. Keep it flat on the table next to your working pad. When your child asks where the ears go or how long the arms should be, point to the model sheet. It keeps the character's scale consistent across pages and keeps drawing time from feeling like a test.
Step 3: Choose one tiny action (blink, bounce, wave, grow) and plan the start and end
Ambitious plans kill animation projects. When a seven-year-old announces that their dragon will fly over a mountain, breathe fire, and fight a knight, shrink the scope right away. A standard handheld flip book runs roughly 15 to 25 frames. At flipping speeds of 8 to 12 frames per second, that is less than two seconds of screen time.
Select one single micro-action for the project:
A blink: eyes wide open, half-closed, shut tight, and snapping open again.
A bounce: standing tall, squashing flat on the ground, stretching up into the air, and landing back down.
A wave: one arm resting at the side, rising halfway, lifting to the ear, and waving back and forth twice.
A growth spurt: a tiny sprout popping out of the dirt and ballooning into a huge flower.
Decide the starting pose and the end pose before drawing anything in the pad. In classic animation studios, these are called keyframes or extremes. Once you know where the character begins and where they land, you won't run out of room on the page or lose the plot halfway through the stack. If you want other ways to turn sketches into movement, see our guide on how to animate your child's drawing.
Step 4: Draw the last page first, then the first page, then fill in the middle
Beginner animators instinctively start on page one and draw page two, page three, and page four in order. That almost always sends characters drifting off the edge of the paper or morphing into different sizes. Professional animators use pose-to-pose animation, and for flip books it wins every time.
Flip books read according to how your thumb holds the edge. If you thumb through loose cards from the front, the bottom page drops first. Test your pad with blank paper now to confirm which page the viewer sees first as your thumb riffles the corner.
Once you know your opening frame and your final frame, draw the final pose on the last page. Then turn to the starting page and draw the character in a neutral starting pose. Now you have your visual boundaries. Next, fill in the page directly between them, called the breakdown frame. If the character jumps from the floor to the sky, the breakdown page shows them halfway up in midair. Then fill the remaining gaps. Working from the ends to the middle keeps proportions locked across every sheet.
Step 5: Trace the character page by page with small changes (who draws what by age 2-3, 4-5, 6-8)
This is where parents scale the workload to their child's motor development. Young kids love moving drawings, but small finger muscles tire fast when asked to repeat identical lines twenty times. Split the drawing tasks by age group.
For ages 2-3: Toddlers cannot trace fine outlines. You are the lead animator and your toddler is the director and effects artist. You sketch the character outlines on each sheet against a sunny window. Then hand the pad to your toddler to stamp raindrops, add scribble auras, or press dot stickers onto the moving parts. To see how their motor skills line up with these marks, read our guide on the stages of drawing development in children.
For ages 4-5: Preschoolers understand cause and effect. You trace the static parts of the character that stay still, such as the torso, legs, and floor line. Your child draws the moving elements: the pupils shifting, the smile stretching open, or the waving arm in a new position. Work against a bright tablet screen or window so they can clearly see the frame underneath.
For ages 6-8: Early elementary kids can handle the whole sequence. Teach them the window lightbox trick: hold the blank page over the previous page flat against a window pane, or lay an iPad at full brightness showing a blank white screen. Show them how to trace ninety percent of the figure exactly, shifting only the moving limb by two or three millimeters. Keep spacing tight. Big jumps between pages make the animation jarring, while tiny shifts make the movement look smooth and deliberate.
Step 6: Color, number the pages, and bind the flip book
Once your pencil linework moves cleanly, add ink and color. Keep the palette small: two or three solid tones work best. If the character is blue with orange boots, color only the body and boots. Skip shading, cast shadows, and textured backgrounds. Heavy coloring across twenty pages cramps small hands and makes thin paper buckle.
Write small page numbers in pencil in the extreme upper corner, far from the thumb-flipping edge. If the stack slips out of your grip and scatters across the floor, those tiny numbers save you fifteen minutes of frustrating reconstruction.
Now bind the deck. If you used sticky notes, the adhesive strip at the top works well, but it tends to peel apart under vigorous flipping. Reinforce that top edge by wrapping a strip of heavy duct tape or painter's tape tightly around the glued spine. If you used cut index cards, tap the left edges flat against the table until they form an even block, then clamp a 1-inch metal binder clip over the margin. Add two staples through the clamped edge if the binder clip gets in the way of smaller hands.
Step 7: Flip it, adjust the speed, and share the mini movie
Flipping takes physical technique. Small hands often struggle because they squeeze the pages too tightly or hold the cards at an awkward angle. Teach your child the bevel grip: hold the bound edge firmly in your non-dominant hand. With your dominant hand, place your thumb under the free edge of the pages and bend the pad gently backwards into an arch. Release the pages one by one across the pad of your thumb.
If the book dumps all its pages at once in a loud clatter, bevel the edge. Beveling means shifting the stack slightly so each page sticks out a fraction of a millimeter past the one before it, like a tiny staircase. That stair-step edge gives your thumb traction on every sheet.
Record a slow-motion video on your phone to review the animation together. Position your phone directly over the flipping edge in good lighting, flip the book at normal speed, and play it back at half speed. Kids light up when they see their hand-drawn stick figure or monster perform a smooth, believable loop on a screen.
What to do next: take the character from paper to a real animated story
A paper flip book is a major milestone for a young artist. It proves that a flat drawing is not static. It has life, motion, and intention. But paper flip books usually cap out at two seconds of action before the pages run out and little fingers get tired.
When your child falls in love with that original character and wants to give them a real voice, a home, and an ongoing adventure, bring them into Pixley. Pixley turns kids' drawings and ideas into personalized animated cartoons, bedtime storybooks, and learning games, built for ages 2-8, safe and ad-free. The app is available on an iOS free trial.
Instead of leaving your child's favorite doodle tucked away on an index card, you can describe any lesson you want taught and Pixley creates a cartoon episode around it, covering Social and Emotional Learning goals or educational topics. Every generation passes child-safety filtering before a kid sees it. Your child gets the pride of watching their exact hand-drawn star jump from a two-second paper flip into a full, meaningful cartoon episode they can watch anytime.
Conclusion
Animation does not belong only to big animation studios. It starts at your kitchen table with twenty sticky notes, a graphite pencil, and your child's imagination. Making a flip book teaches mechanical physics, fine motor control, and the basics of visual storytelling without screens.
Once your child watches their paper character leap, blink, or wave for the first time, carry that creative momentum forward. Upload that exact sketch into Pixley on iOS. Turn their two-second paper experiment into a personalized animated cartoon episode that teaches life lessons and keeps their creativity alive.
Frequently Asked Questions
How many pages do you need to make a flip book for kids?
A successful beginner flip book for kids needs 15 to 25 pages. This length produces about two seconds of visible animation, which is enough to show a complete action like a jump, blink, or wave without exhausting a child's hand.
What is the best paper for a DIY flip book?
Standard 3x3 inch Post-it notes are the easiest option because they come pre-bound and thin enough to trace against a window. For loose pages, use 65 lb cardstock or lightweight index cards, which offer the ideal stiffness to snap off a thumb.
Can toddlers make a flip book?
Toddlers ages 2-3 can participate as creative directors. Parents sketch the main character outlines, while the toddler adds colorful scribbles, backgrounds, or stickers to the moving sections before watching the parent flip the finished deck.
How can I turn my child's flip book character into a real cartoon?
After your child sketches their character on paper, you can digitize it. Pixley turns kids' drawings and ideas into personalized animated cartoons, bedtime storybooks, and learning games for ages 2-8, available on iOS with child-safety filtering.